
Contexte
Déployer des applications de manière efficace, rapide et reproductible dans des environnements hétérogènes peut sembler complexe. Dans cet article, je vous invite à découvrir le processus détaillé du déploiement dans des conteneurs Docker, d’une APi .NET côté back-end, couplée à une application front-end Angular, que j’avais développée et introduite au sein d’un précédent article.
Nous allons voir ensemble comment utiliser Docker pour déployer ces applications de manière efficace sur des Raspberry Pi. Chacun de ces petits ordinateurs, fonctionnant comme un serveur indépendant dans notre architecture, sera connecté à un serveur IBM i.
Notre API .NET, grâce au data provider NTi, sert de couche de service en exposant des données et des fonctionnalités depuis une base de données DB2 for i hébergée sur IBM i, ainsi qu'une autre base de donnée Postgre SQL, qui tourne sur un Raspberry 4. L'application Angular, elle, consomme et utilise ces services pour fournir une interface utilisateur.
Prérequis et Environnement de développement
- IDE
L'API .NET est développée avec Visual Studio, tirant ainsi parti de ses fonctionnalités intégrées pour la gestion de conteneurs Docker.
L’application ANGULAR a été développée sous Visual Studio Code, appréciée pour sa légèreté et sa flexibilité, surtout pour les projets JavaScript / TypeScript.
- SYSTÈME CIBLE
Les applications sont destinées à être déployées sur des Raspberry Pi 4 et 5. Ces nano ordinateurs à processeur ARM sont connectés à un IBM i.
- DOCKER
Docker desktop installé sur ma machine de développement, va me permettre de conteneuriser les applications, facilitant leur déploiement sur différentes architectures matérielles, notamment celles des Raspberry pi.
PARTIE 1 - Déploiement de l’API .NET.
Étape 1 - Création du Dockerfile avec VISUAL STUDIO.
La première étape consiste à créer un Dockerfile pour l’API .NET. Visual Studio facilite ce processus grâce à son intégration native Docker:
clic droit sur le projet > Ajouter > Prise en charge avec Docker.
Visual Studio génère un Dockerfile adapté à l’application, pré-configurée pour l’environnement .NET.
Ce fichier définit les instructions pour construire l’image Docker de l’application, incluant la base, la construction, la publication et l’étape finale pour exécuter l’application.
FROM mcr.microsoft.com/dotnet/aspnet:8.0 AS base
USER app
WORKDIR /app
EXPOSE 8080
EXPOSE 8081


FROM mcr.microsoft.com/dotnet/sdk:8.0 AS build
ARG BUILD_CONFIGURATION=Release
WORKDIR /src
COPY ["AccessDataAPI.csproj", "."]
RUN dotnet restore "./././AccessDataAPI.csproj"
COPY . .
WORKDIR "/src/."
RUN dotnet build "./AccessDataAPI.csproj" -c $BUILD_CONFIGURATION -o /app/build

FROM build AS publish
ARG BUILD_CONFIGURATION=Release
RUN dotnet publish "./AccessDataAPI.csproj" -c $BUILD_CONFIGURATION -o /app/publish /p:UseAppHost=false

FROM base AS final
WORKDIR /app
COPY --from=publish /app/publish .
ENTRYPOINT ["dotnet", "AccessDataAPI.dll"]- Étape Base: Utilise l’image Docker officielle d'ASP.NET pour créer un environnement d’exécution pour l’application. Les ports 8080 et 8081 sont exposés pour le trafic HTTP et HTTPS.
- Étape Build: Utilise l’image SDK pour compiler l’application. La gestion des dépendances et la compilation se font dans cette étape.
- Étape Publish: Publie l’application compilée, prête pour le déploiement.
- Étape Finale: ¨Prépare l'image finale en copiant l’application publiée vers l’environnement d’exécution.
Étape 2 - Ajout des CORS ( Cross Origin Resource Sharing ).
using AccessDataAPI.Services;
using Microsoft.AspNetCore.Server.Kestrel.Core;
using Microsoft.AspNetCore.Server.Kestrel.Https;

var builder = WebApplication.CreateBuilder(args);

// Add the CORS configuration to authorise requests from the Angular HotelAppManager application.

builder.Services.AddCors(options =>
{
    options.AddPolicy("MyCorsPolicy", policy =>
    {
        policy.AllowAnyOrigin()
              .AllowAnyHeader()
              .AllowAnyMethod();
    });
});
Afin de permettre à notre API .NET d’accepter les requêtes provenant d’autres origines, comme notre application Angular qui sera hébergée sur un serveur différent, nous configurons les CORS (Cross Origin Resource Sharing) dans le fichier "program.cs".
Les CORS sont essentiels, permettant à notre application front-end de communiquer simplement avec notre back-end.
Étape 3 - Configuration du LaunchSettings.json
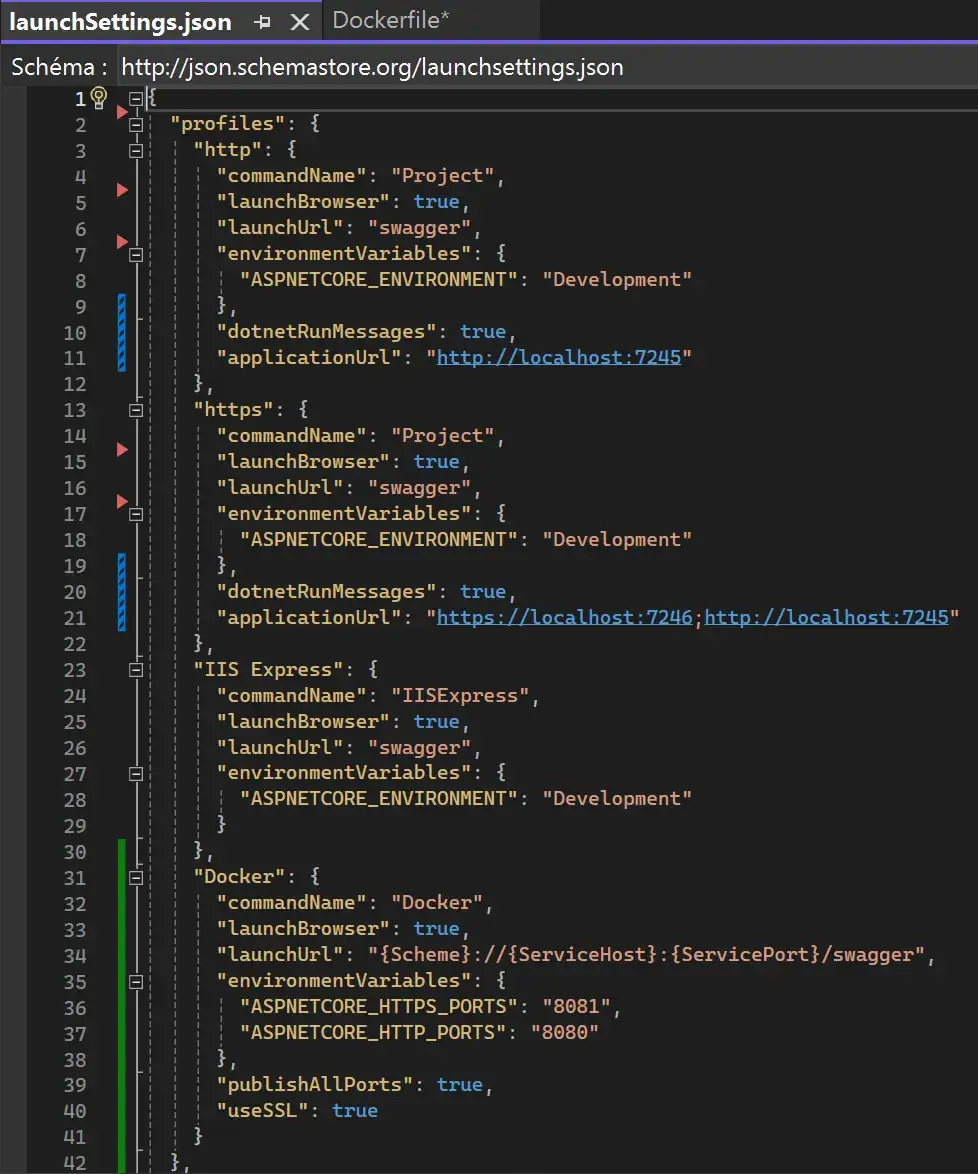
Ce fichier définit plusieurs profils pour le lancement de l’application, y compris le développement local via HTTP ou HTTPS, ainsi que Docker.
- Les Profils HTTP & HTTPS: ils permettent de lancer l’application localement, avec ou sans SSL, spécifiant l’URL de lancement, les ports utilisés, et les variables d’environnement.
- Le Profil Docker: il indique à Visual Studio commence lancer l’application dans Docker, y compris le mappage des ports et l’utilisation du SSL. Les variables d’environnement sont définies ici pour correspondre aux ports exposés dans le “Dockerfile”.
Étape 4 - Déploiement sur DOCKER
Une fois le Dockerfile, les launchsettings et les CORS configurés, il est maintenant temps de construire l’image DOCKER de l’APi .NET en utilisant la ligne de commande.
Dans le dossier courant de notre application, on va utiliser Docker Buildx pour créer une image multi-architecture de l’APi .NET, essentiel pour le déploiement de l’application sur le Raspberry Pi
docker buildx build --platform linux/arm64/v8,linux/amd64 -t quentindaumerial/accessdataapi:latest --push -f Dockerfile .L’image est directement envoyée sur mon Docker Hub, confirmant le bon déroulement du build.

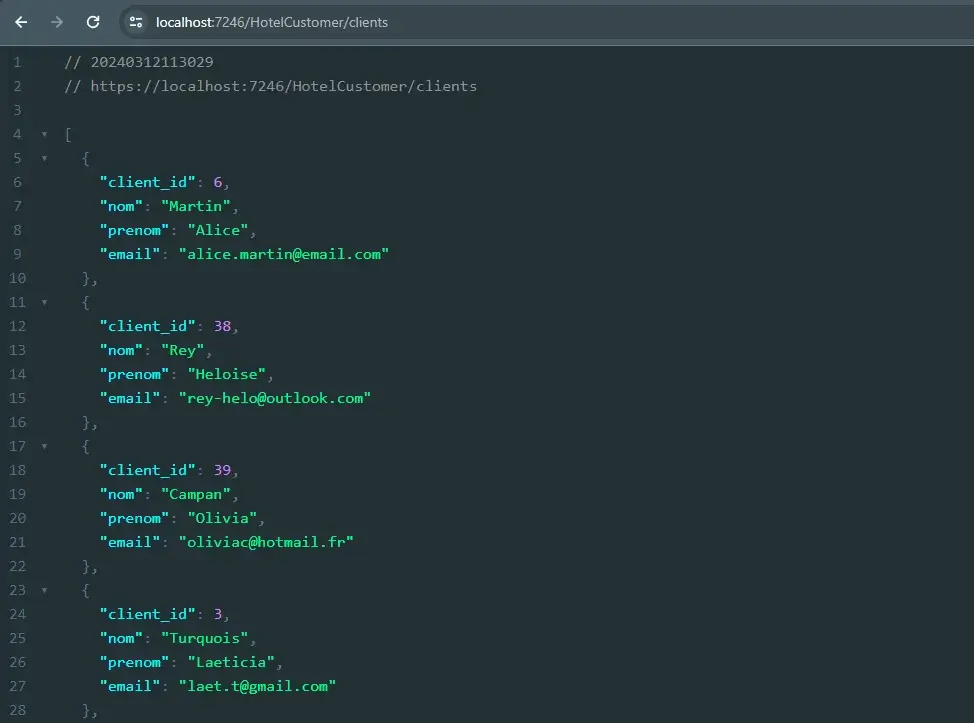
Pour valider le fonctionnement de l’APi .NET dans un environnement similaire à notre cible de déploiement, j'exécute l’image localement en utilisant “docker run”.
En mappant les ports nécessaires et en configurant les variables d’environnement pour le SSL, je simule l’environnement de production sur ma machine de développement.
docker run --rm -it -p 7245:8080 -p 7246:8081 -e ASPNETCORE_HTTPS_PORTS=8081 -e ASPNETCORE_HTTP_PORTS=8080 -e ASPNETCORE_Kestrel__Certificates__Default__Password="password" -e ASPNETCORE_Kestrel__Certificates__Default__Path=/https/aspnetapp.pfx -v %USERPROFILE%\.aspnet\https:/https/ accessdataapiEn me rendant sur https://localhost:7246/HotelCustomer/clients depuis mon navigateur web, j’ai accès aux données exposées par mon API directement depuis DB2 for i. Cette validation garantit que mon API .NET est prête pour un déploiement sur le Raspberry 5.
Étape 5 - Envoyer l’image sur le RASPBERRY Pi 5.
Après avoir poussé l’image dans le registre de mon Docker Hub, il est maintenant temps de se connecter au Raspberry Pi en SSH, de télécharger l’image directement depuis mon hub, et de la lancer dans un conteneur.
- Connexion au Raspberry 5 en SSH:
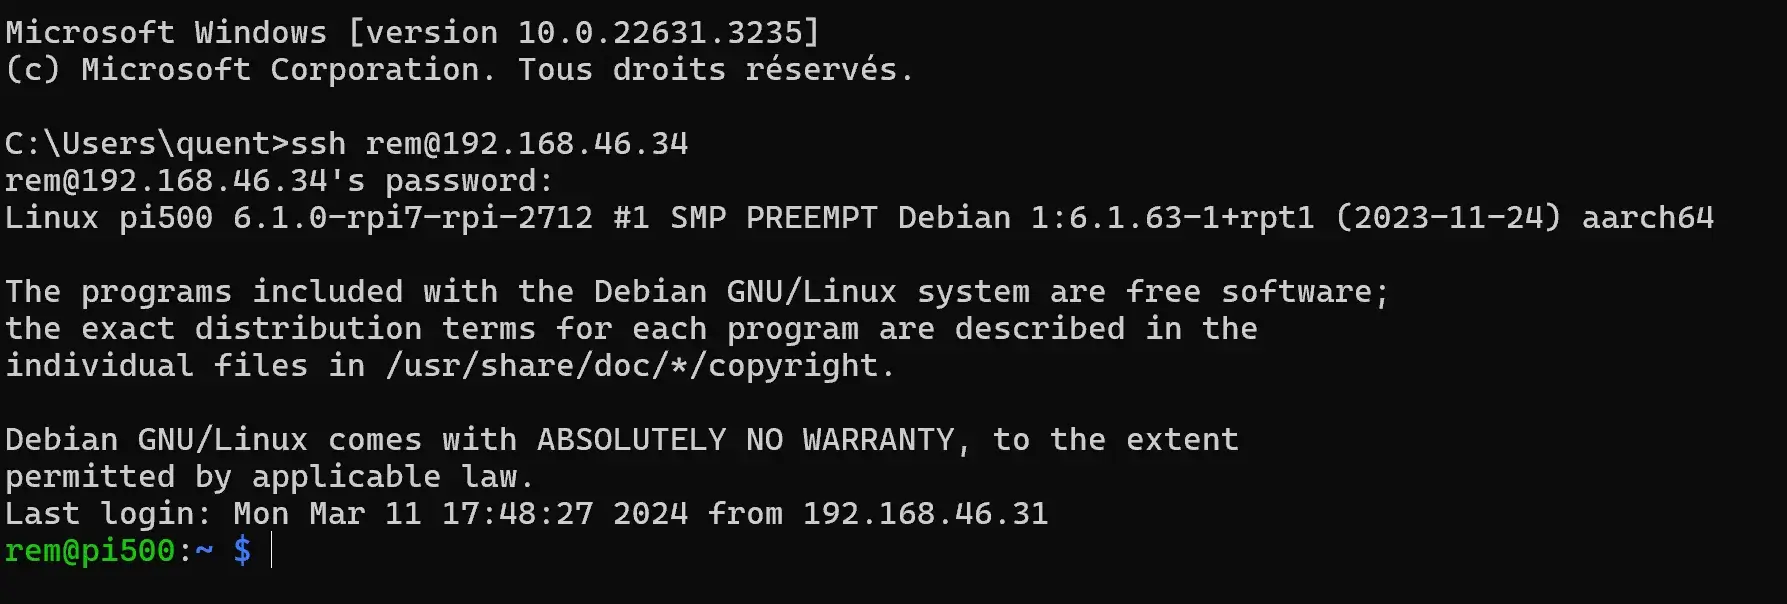
- Téléchargement de l’image depuis mon Docker Hub:
docker image pull quentindaumerial/accessdataapi:latestÉtape 6 - Lancer le conteneur Docker sur le Raspberry 5.
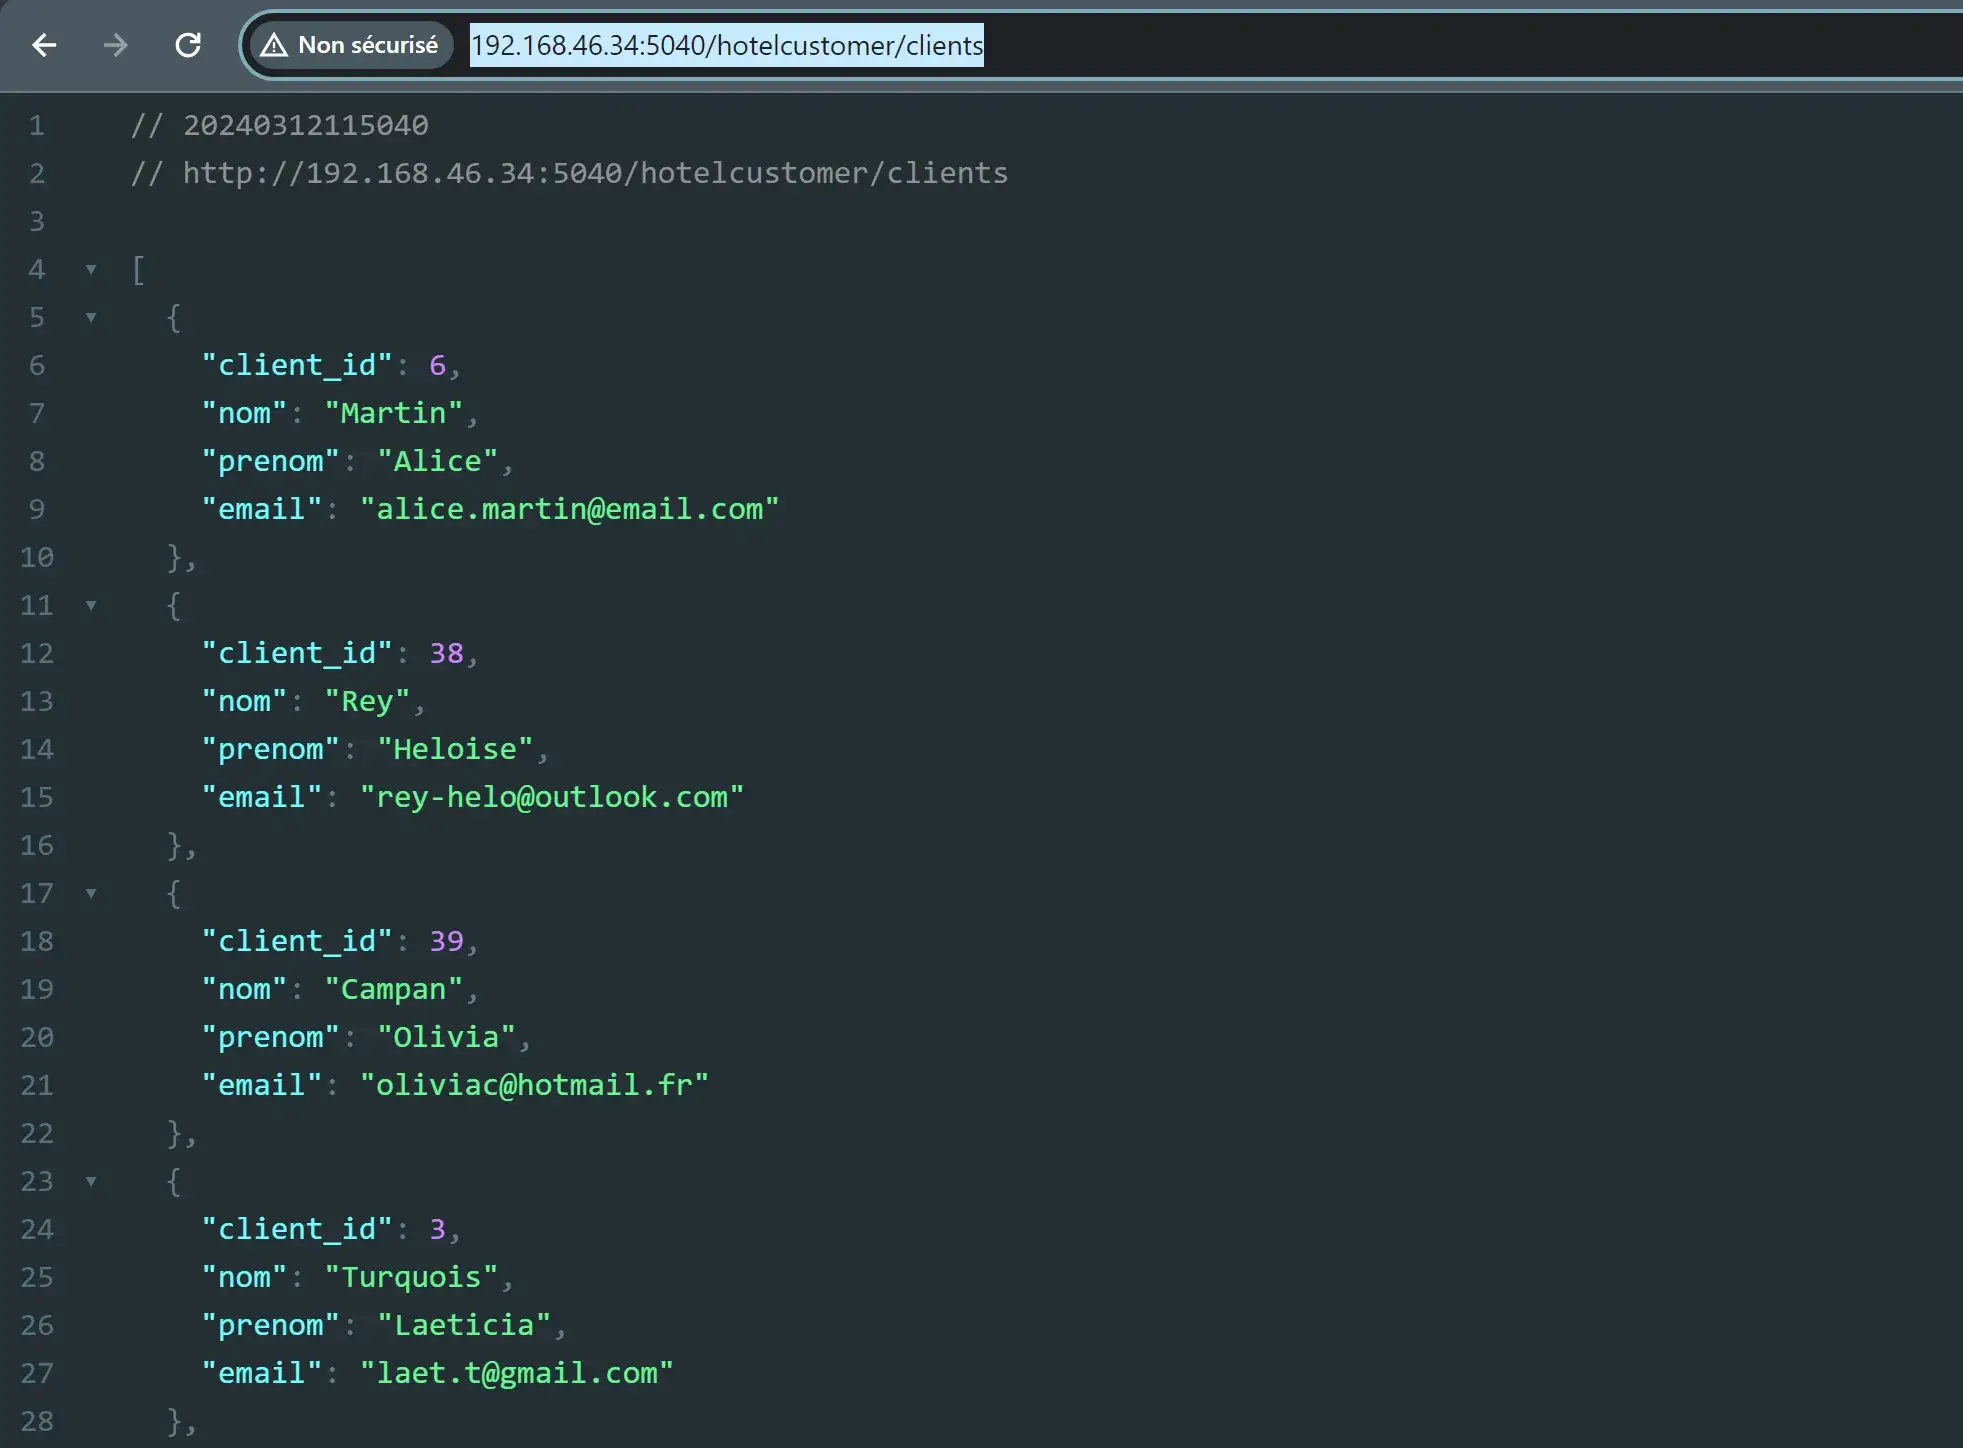
Je lance mon conteneur en mappant le port 8080 de ce dernier, au port 5040 de mon Raspberry Pi 5:
docker run -it -p 5040:8080 quentindaumerial/accessdataapi:latestEt voilà ! Mon API .NET s'exécute désormais dans un conteneur Docker sur mon Raspberry Pi 5, lui-même connecté à mon IBM i. je peux vérifier cela directement en me rendant à l’adresse http://192.168.46.34:5040/hotelcustomer/clients.
PARTIE 2 - Déploiement de l’application ANGULAR.
Étape 1 - Préparation du Dockerfile.
Comme pour l’API .NET, pour dockeriser notre application ANGULAR, il va nous falloir aller dans le dossier de notre application et créer un fichier nommé Dockerfile sans aucune extension.
Il se compose de deux étapes: la construction et l'exécution.
### STAGE 1:BUILD ###

FROM node:latest AS build

WORKDIR /app

COPY package.json ./

RUN npm install

RUN npm build --configuration=production

### STAGE 2:RUN ###

FROM nginx:latest
COPY dist/app-data-manager usr/share/nginx/html

COPY nginx.conf /etc/nginx/nginx.conf

EXPOSE 80
L’étape de construction va utiliser la dernière version de l’image “node” pour installer les dépendances et construire l'application Angular en spécifiant une configuration de production ( détaillé ensuite à l’étape 4 ).
L’étape d'exécution va utiliser la dernière version de l’image “nginx” pour servir notre application. Les fichiers de distribution générés sont copiés dans /usr/share/nginx/html, le dossier par défaut utilisé par NGINX pour servir des conteneurs web.
Étape 2 - Créer le fichier nginx.conf.
Ce fichier configure NGINX pour servir correctement notre application ANGULAR, en prenant en charge le routage côté client.
events{}

http {
    include /etc/nginx/mime.types;
    server {
        root /usr/share/nginx/html/browser;
        index /index.html;
        location / {
            try_files $uri $uri/ /index.html;
        }
    }
}
Le bloc “server” définit où trouver les fichiers de l’application et comment répondre aux requêtes HTTP.
La directive “try_files” indique à NGINX de servir index.html pour toutes les routes gérées côté client.
Étape 3 - Configuration des environnements de développement et production.
Comme vous avez pu le voir dans le Dockerfile, nous avons précisé un build avec “–configuration production”.
En effet Angular est capable de différencier et gérer nativement les configurations spécifiques à l’environnement de développement et de production, pour garantir que l’application se comporte comme prévu dans chaque contexte ( connexion à mon API notamment).
- Pour le développement ( “src/environments/environment.ts”):
Contient la configuration utilisée pendant le développement, y compris l’URL de base de l’API pointant vers le serveur de développement que l’on a configuré dans le fichier launchsettings de notre API .NET.
export const environment = {
    production: false,
    apiBaseUrl: 'https://localhost:7246/'
};- Pour la production ( “src/environments/environment.prod.ts”):
Contient la configuration utilisée pour la version de production de l’application avec une URL pointant vers le serveur de production ( ici notre second Raspberry Pi, accessible à l’adresse 192.168.46.34, sur le port 5040).
export const environment = {
  production: true,
  apiBaseUrl: 'http://192.168.46.34:5040/'
};
Ces fichiers permettent une commutation simplifiée entre les configurations de développement et de production, simplement en changeant le flag “production” lors du build de l’application.
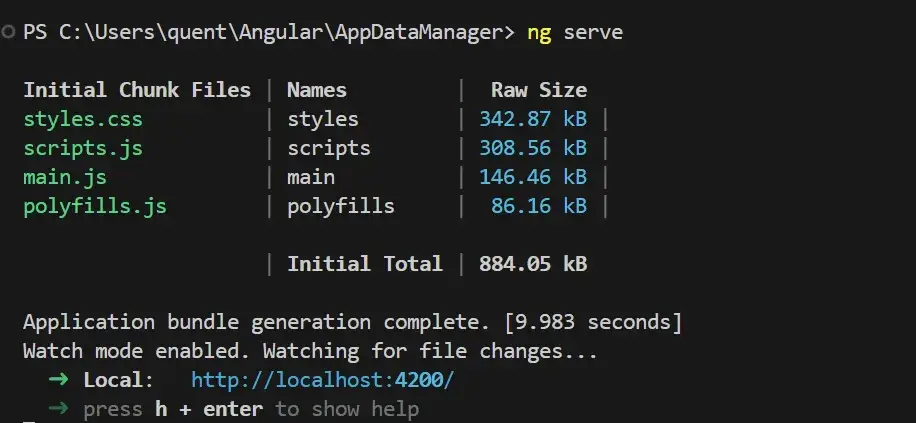
La commande ng serve d’Angular me permet donc d'accéder à mon serveur de développement sur mon localhost, port 4200.
Étape 4 - Construction de l’Image Docker.
De la même manière que notre API .NET, il est important de construire l’image en multiplateforme pour assurer la compatibilité de l’application Angular avec différentes architectures.
On utilise donc à nouveau Docker Buildx pour créer une image qui fonctionne à la fois sur les architectures amd64 (typique des PC et serveurs) et arm64/v8 (appareils arm comme le Raspberry).
La commande suivante lance la construction de l’image et la pousse sur mon Dockerhub:
docker buildx build --platform linux/amd64,linux/arm64,linux/arm64/v8 -t quentindaumerial/appdatamanager:latest --push --no-cache .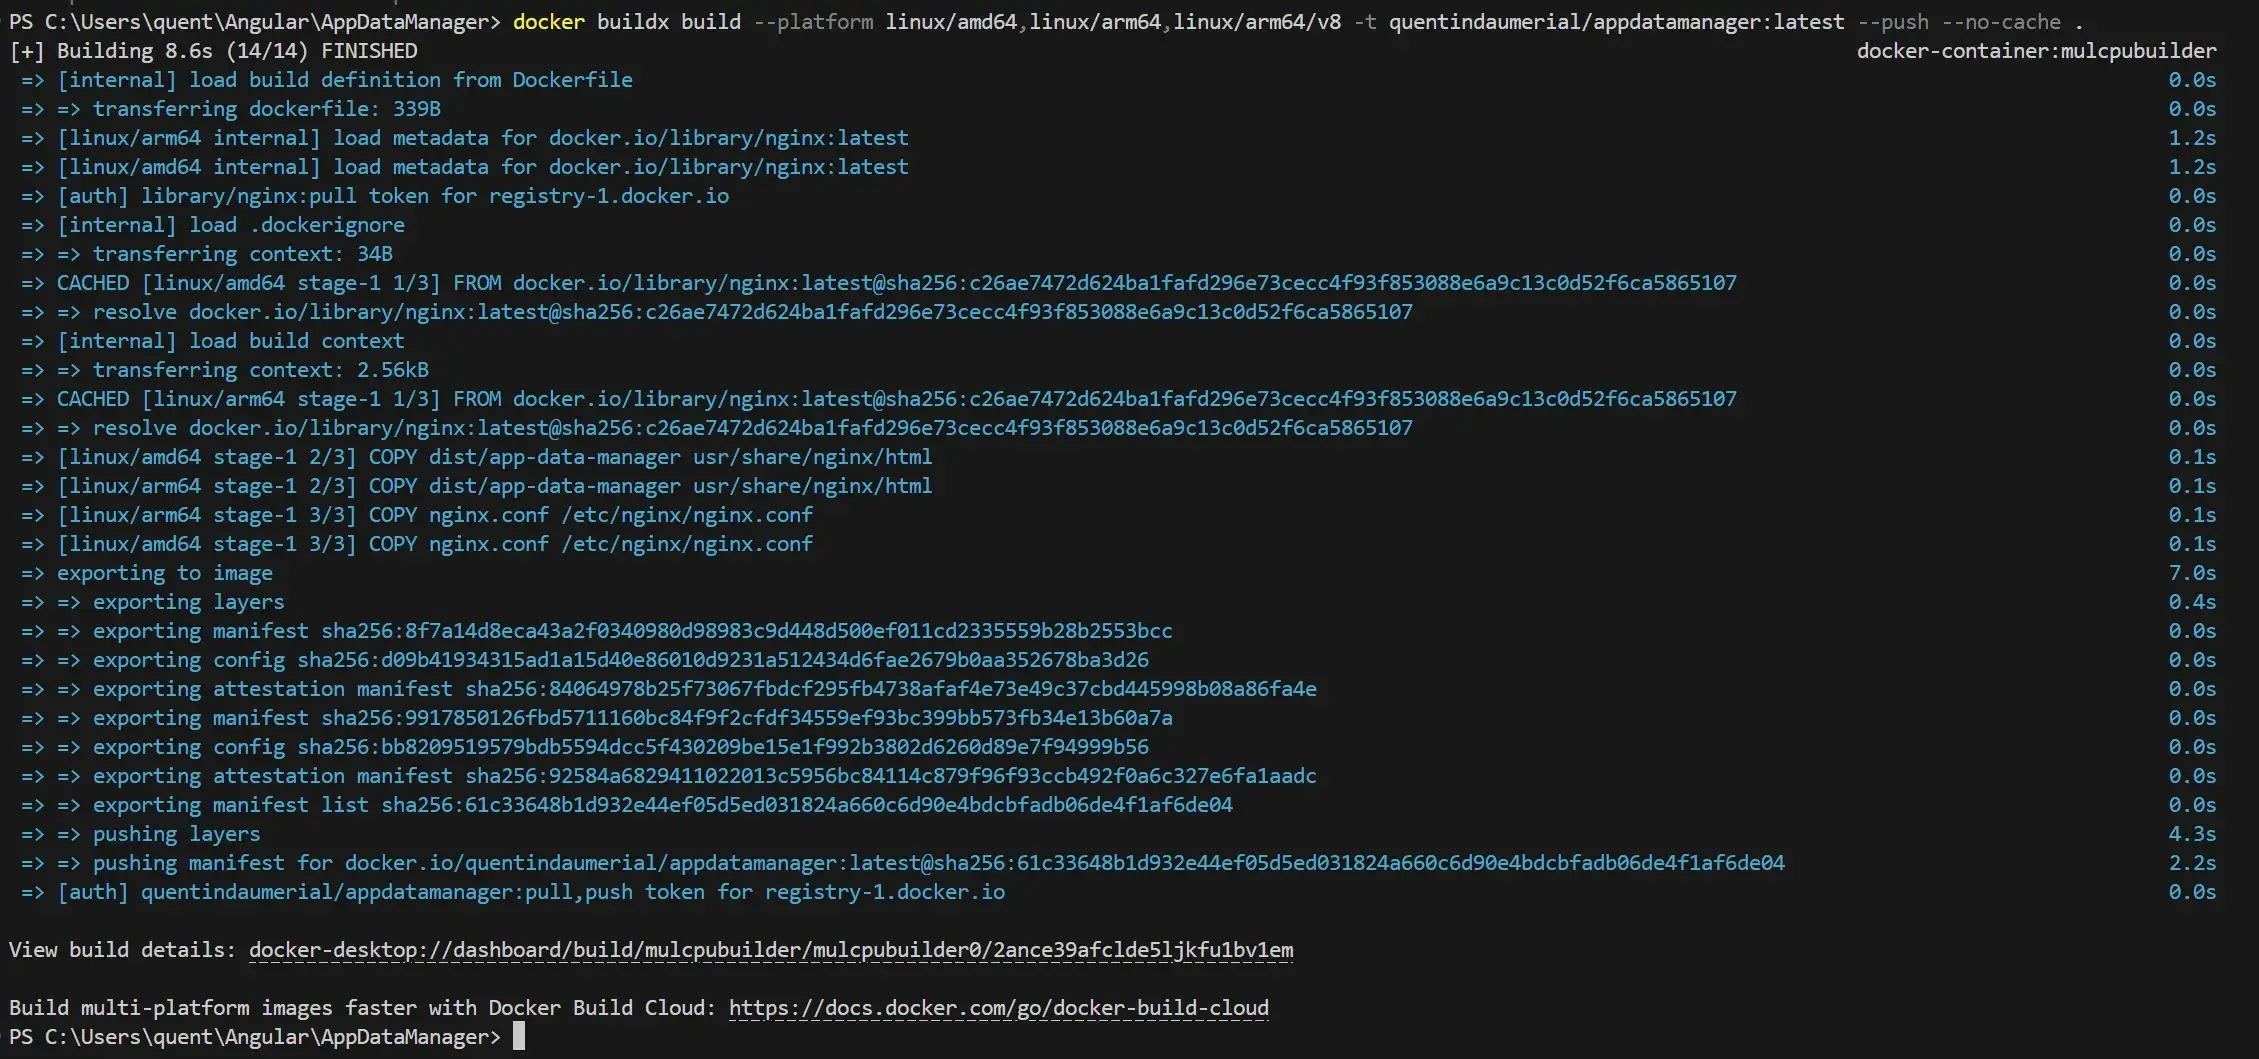
Mon image est bien mis à jour sur mon Dockerhub:

Étape 5 - Envoyer l’IMAGE sur le Raspberry 4.
Après avoir construit et poussé l’image de mon application Angular sur Dockerhub, je me connecte à Raspberry Pi 4 via SSH :
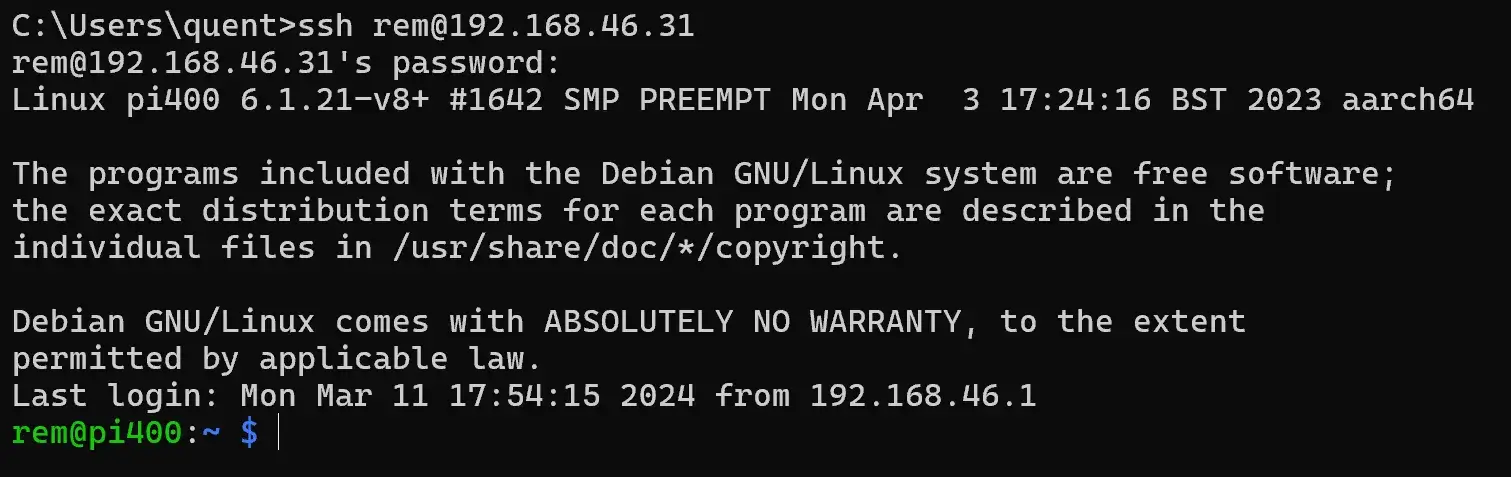
Je récupère la dernière version de mon image depuis mon hub, pour la rendre disponible sur le Raspberry Pi:
docker image pull quentindaumerial/appdatamanager:latest
Étape 6 - Lancer le conteneur Docker sur le Raspberry 4.
Maintenant que l'image est téléchargée, Je lance un conteneur Docker pour déployer l’application Angular, mappant le port 80 du conteneur au port 5000 du Raspberry pi 4:
docker run -it --platform linux/arm64/v8 -p 5000:80 quentindaumerial/appdatamanager:latest
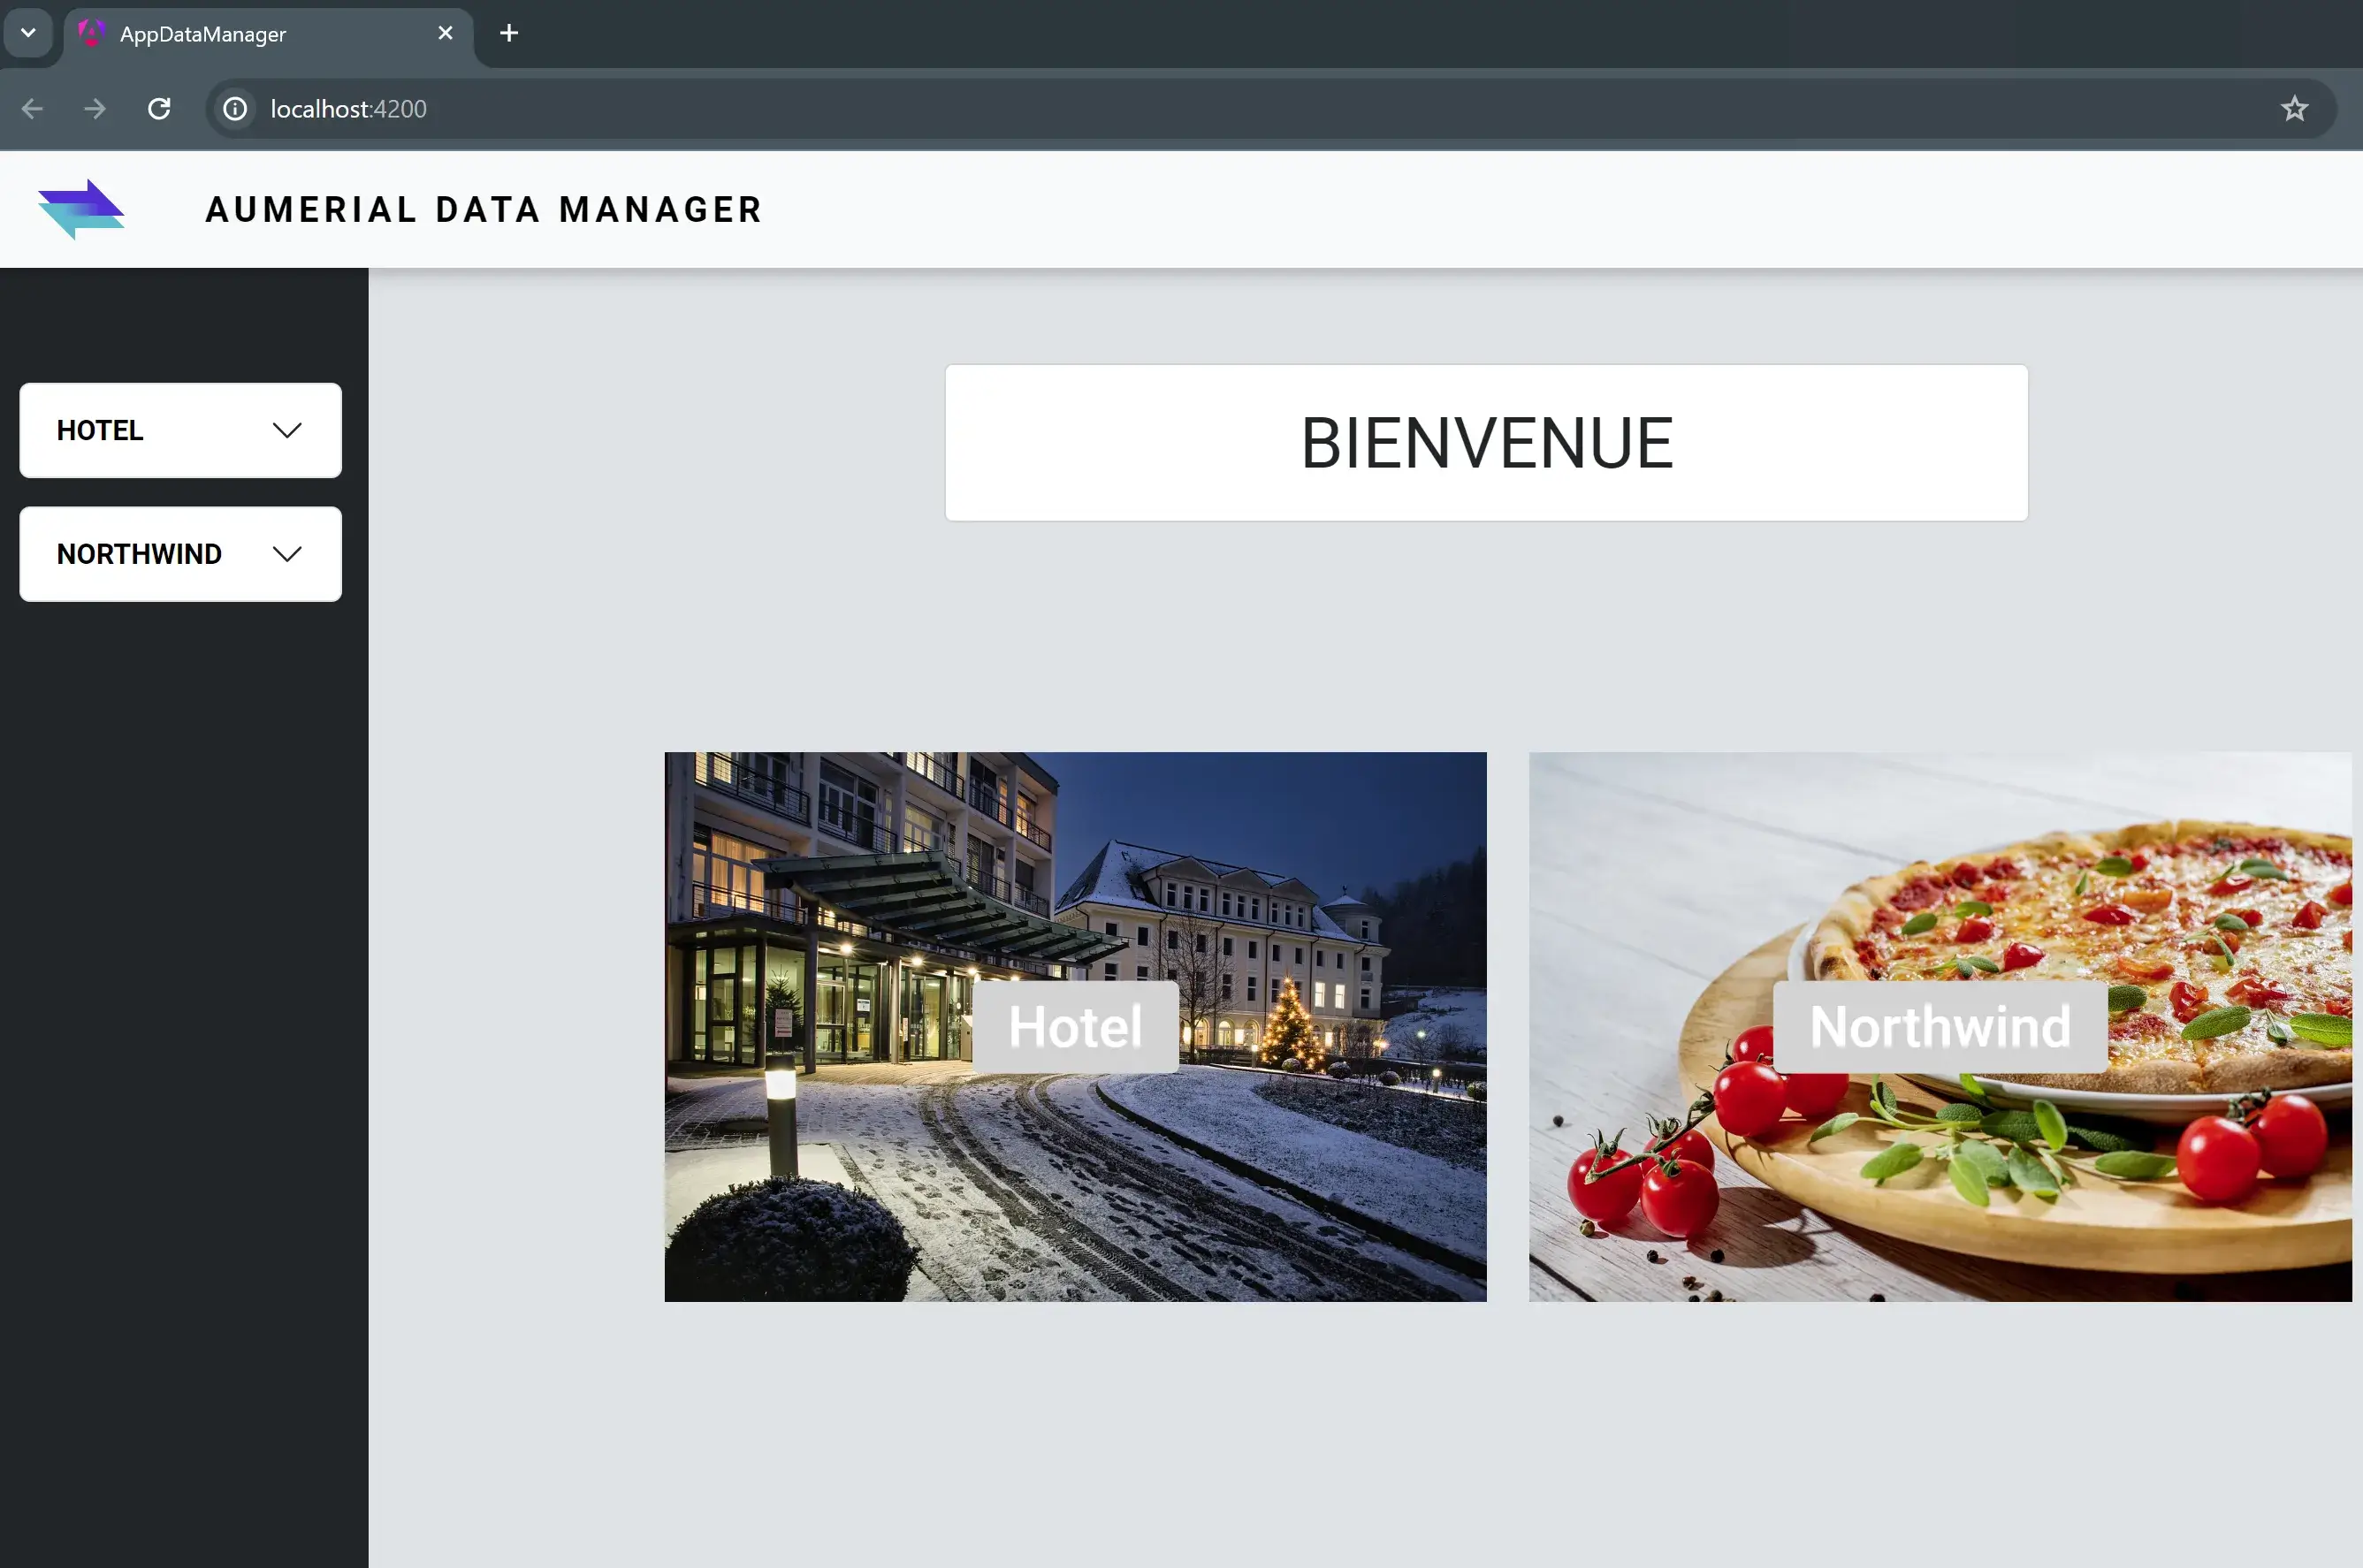
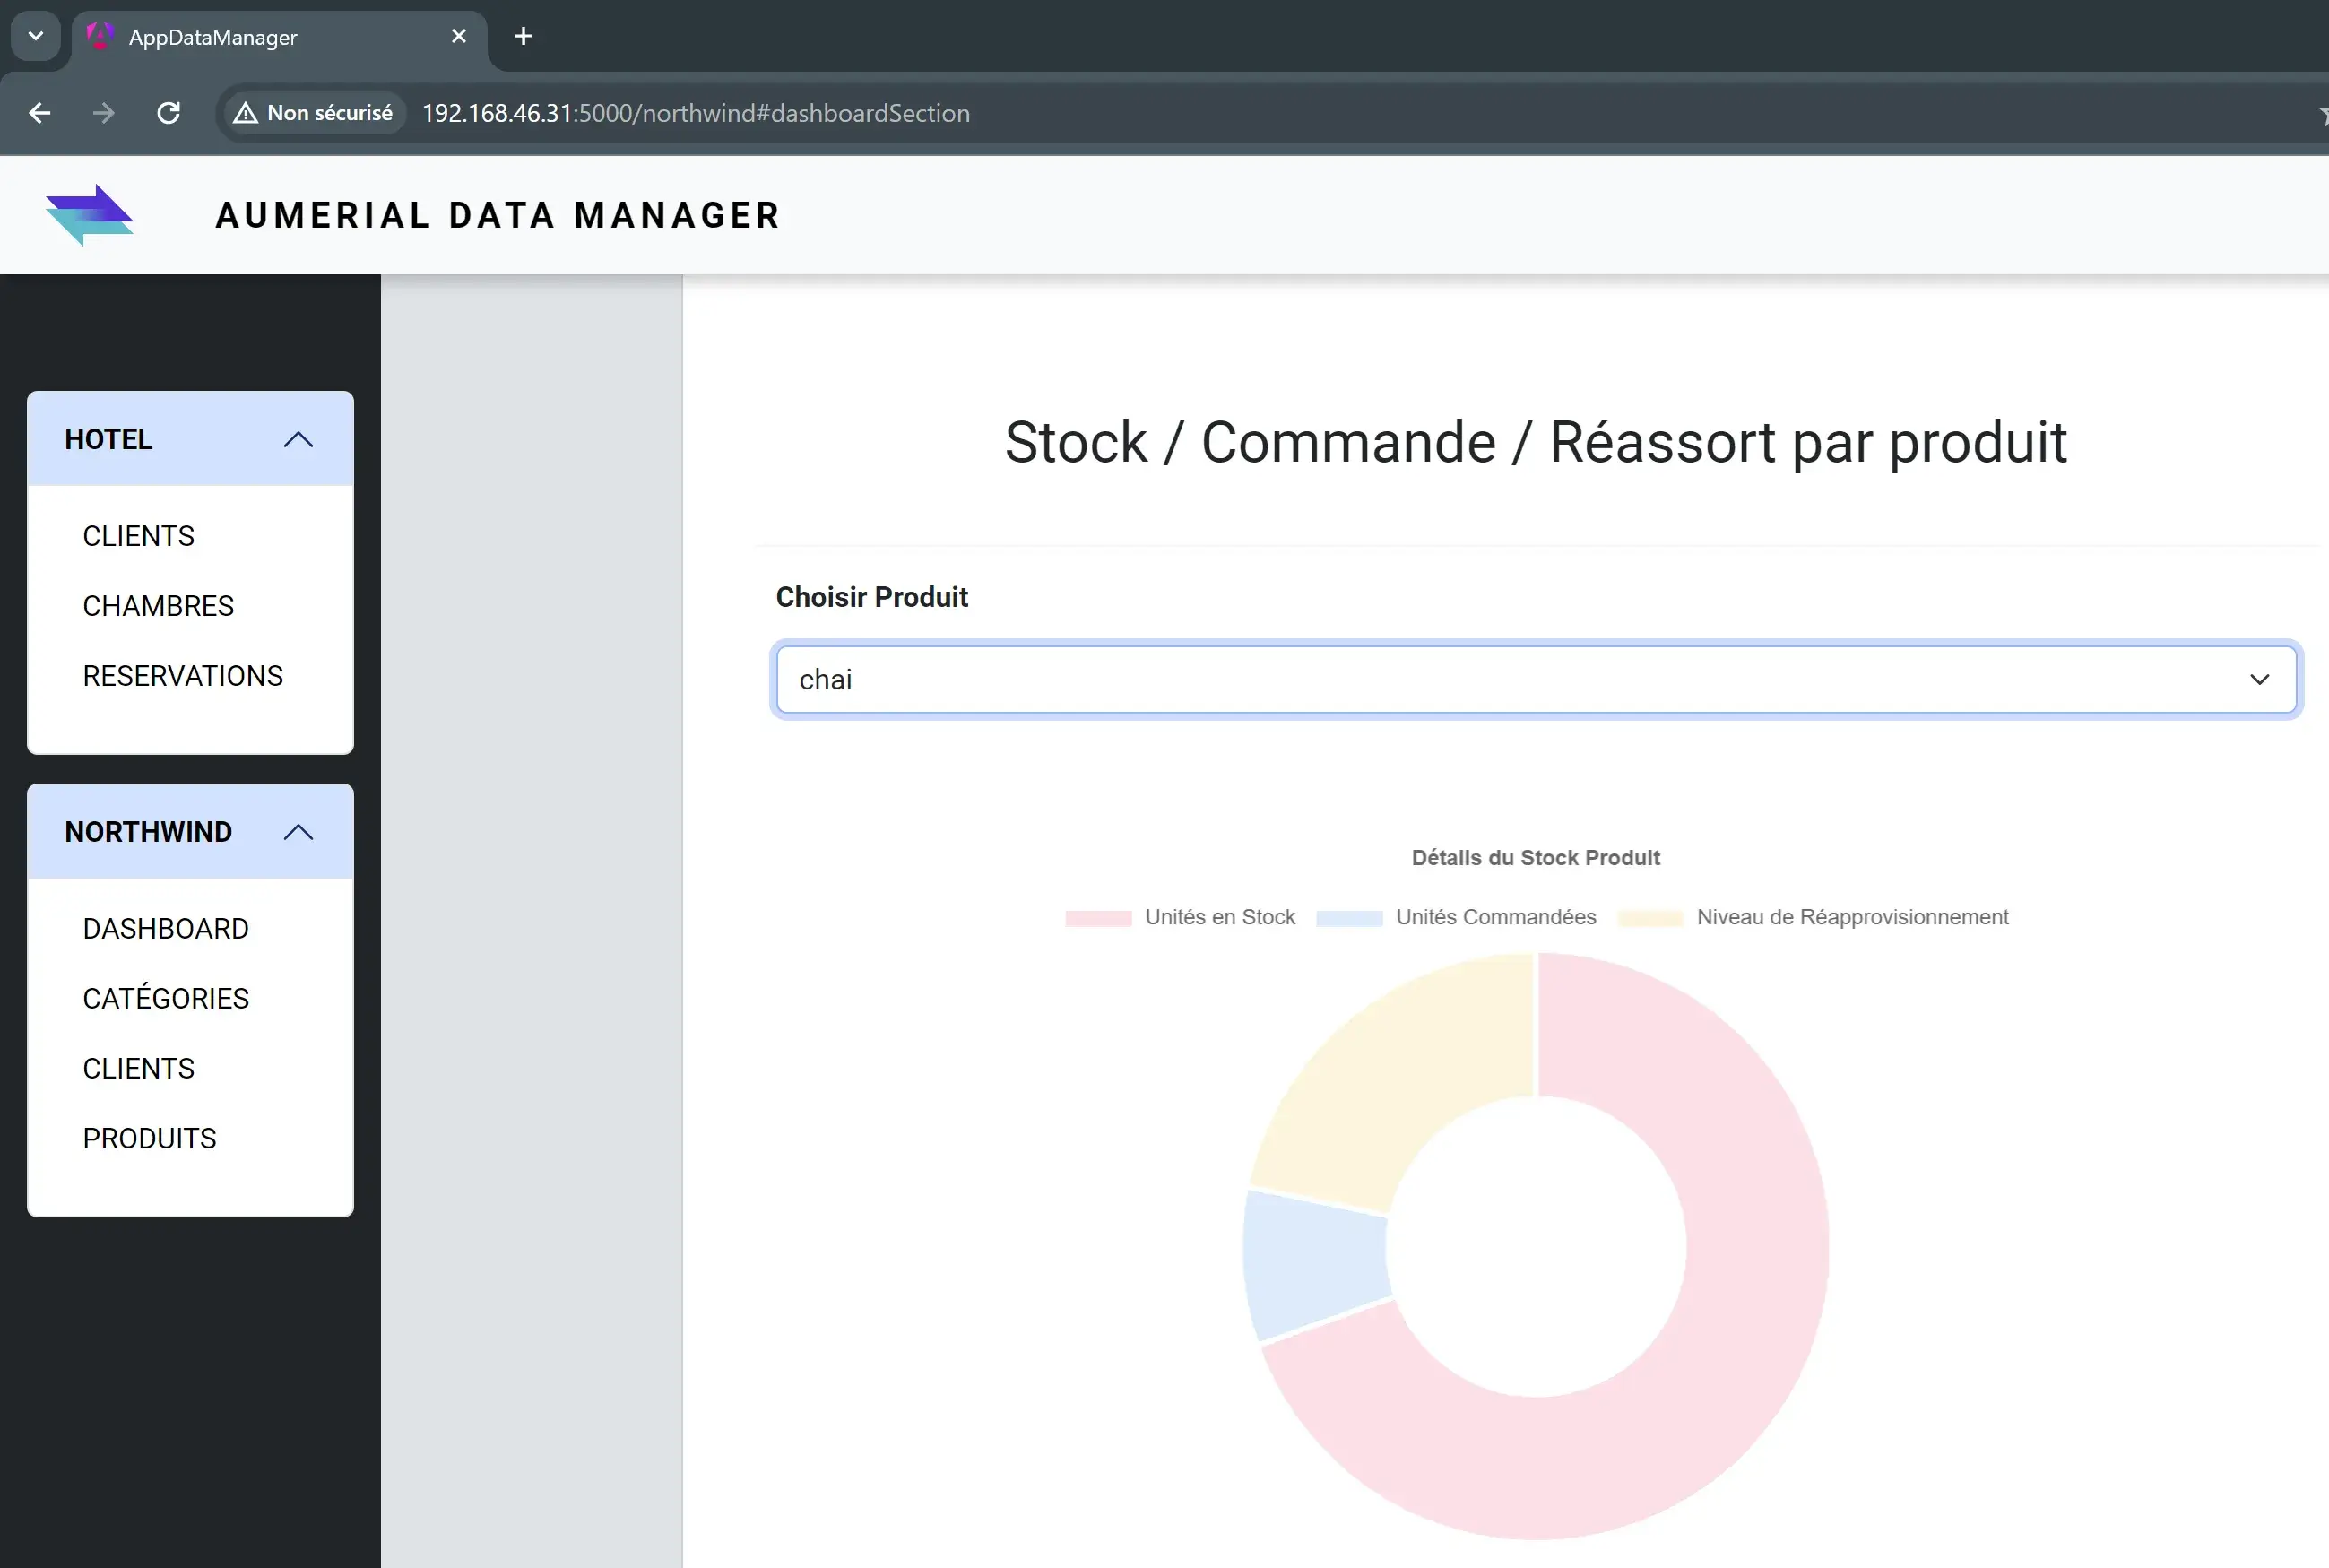
L’application est maintenant accessible via un navigateur web à l’adresse “**http://192.168.46.31:5000**”:
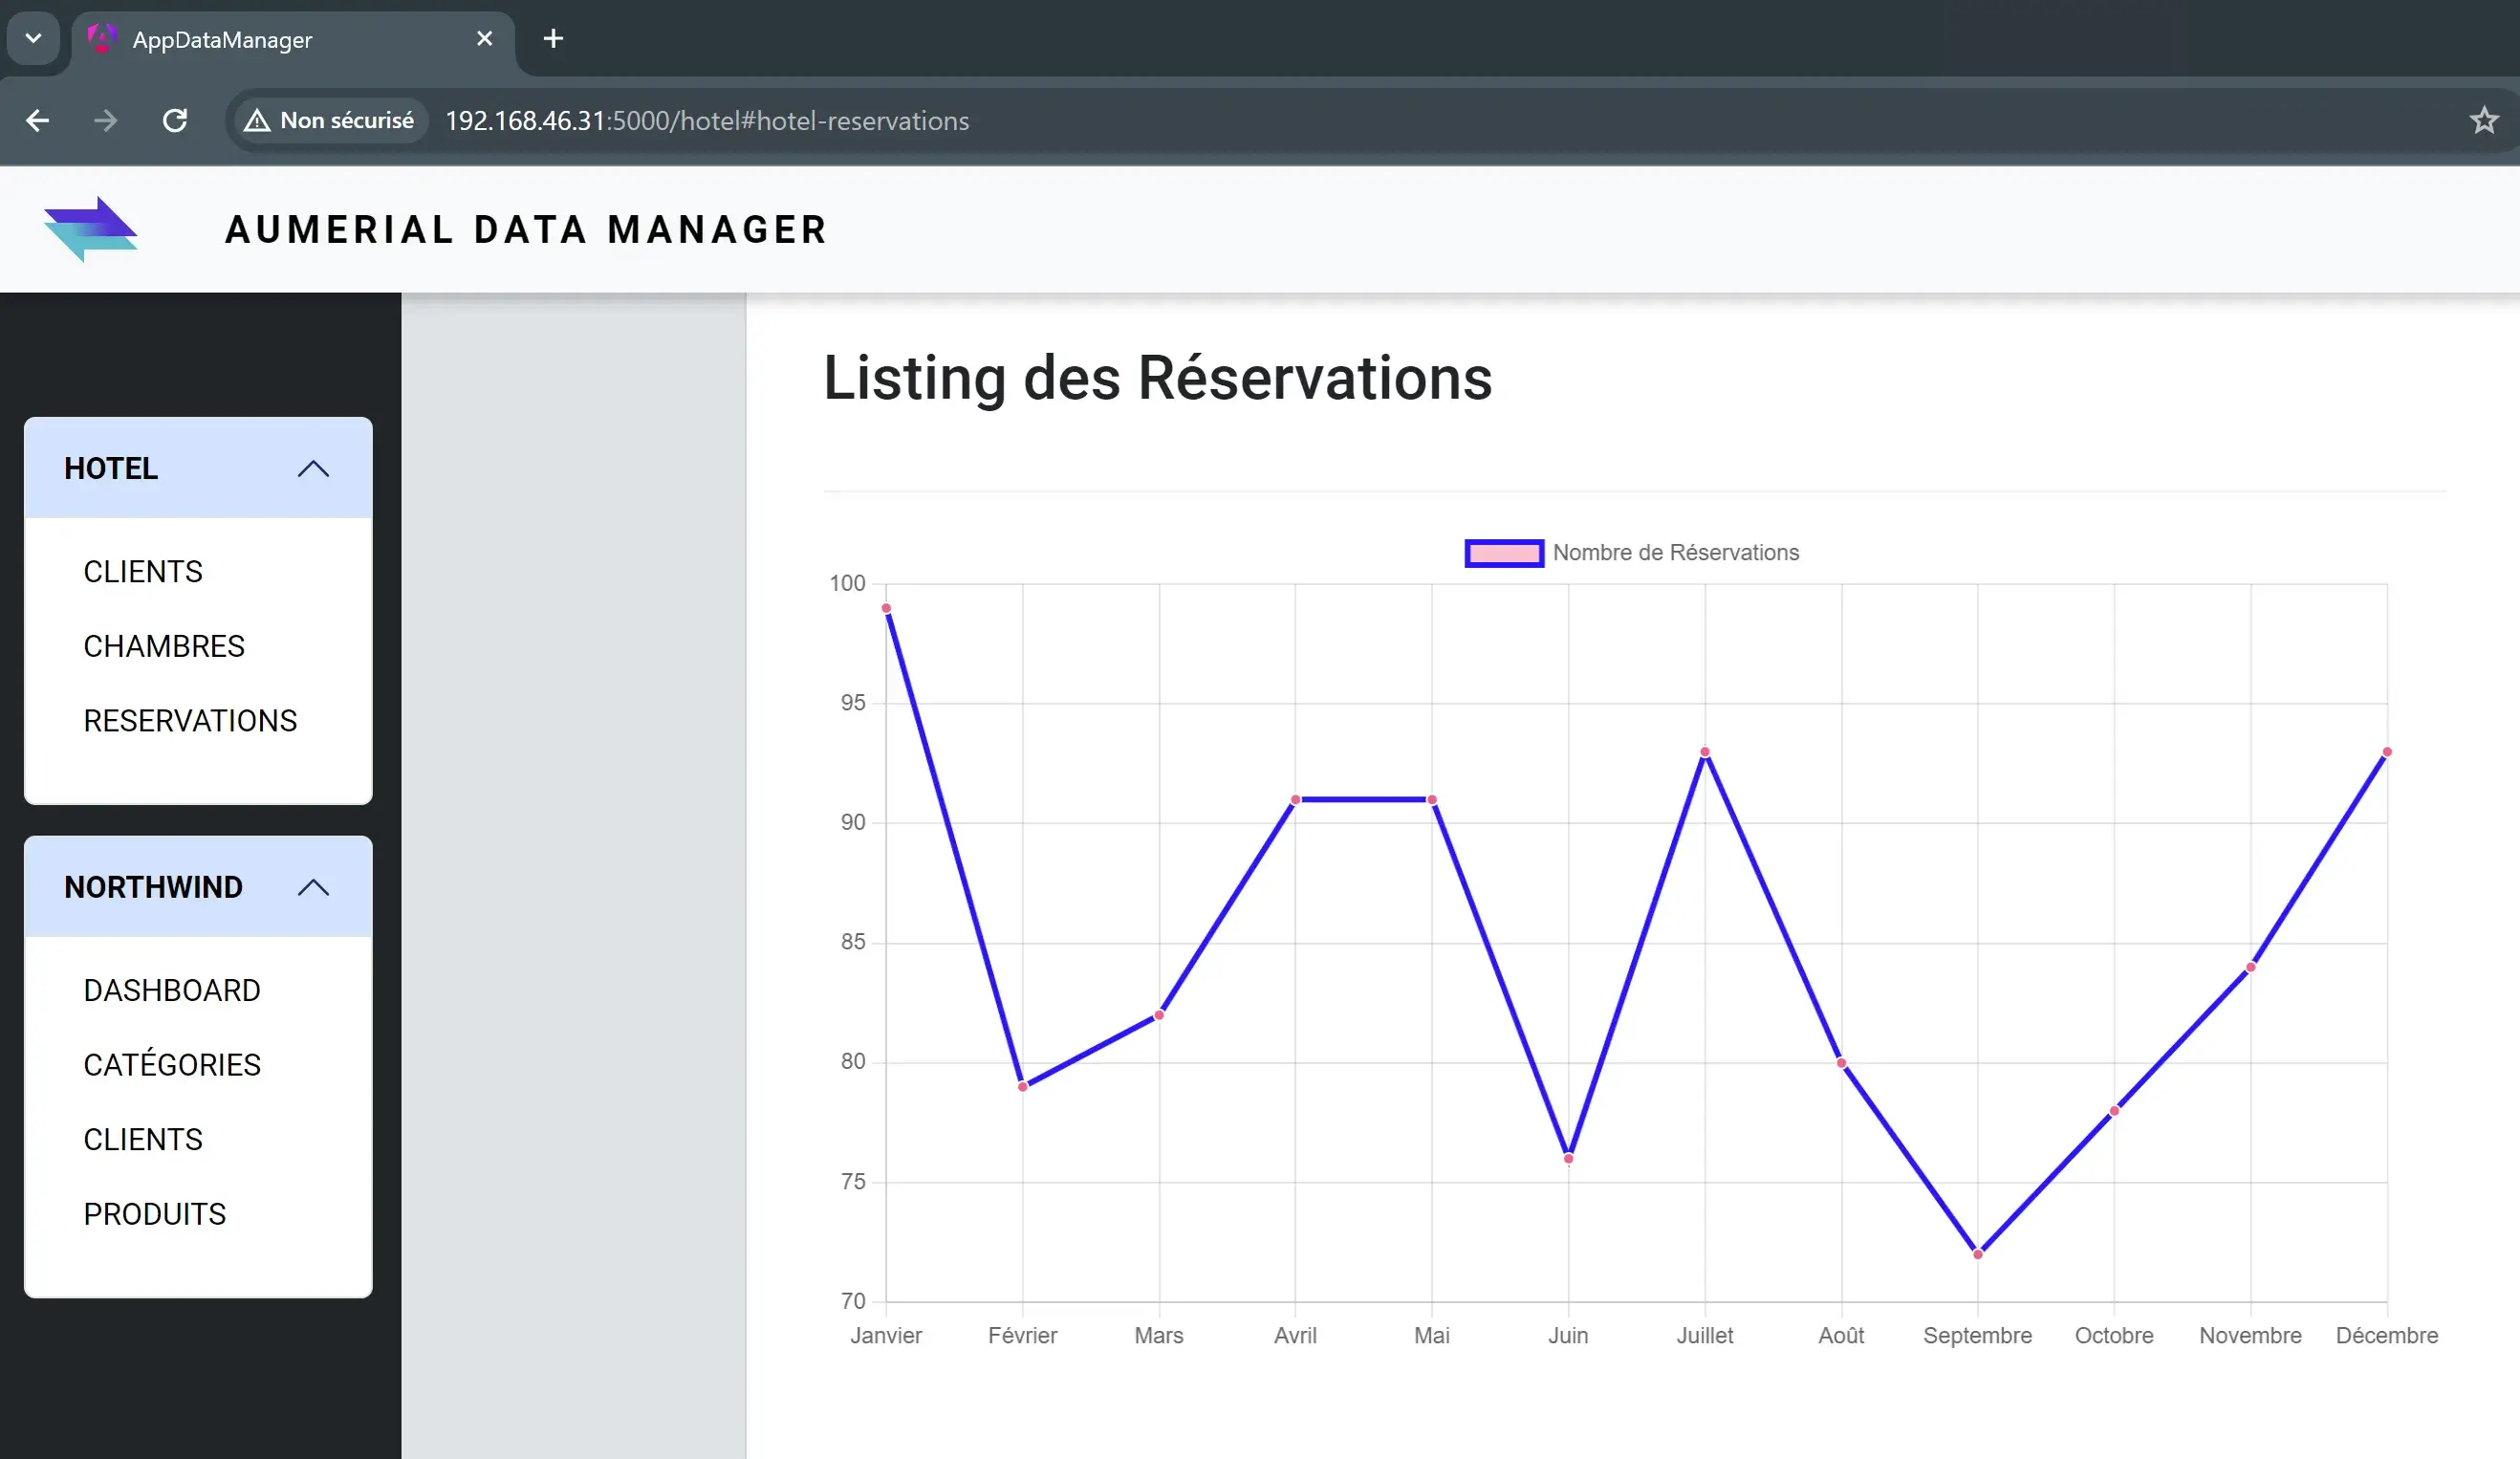
On remarque notamment que les données remontent bien depuis notre APi, qui consomme les données exposées par DB2 for i et récupérées via NTi depuis .NET:
CONCLUSION
Grâce à la mise en place de Dockerfiles spécifiques, à la configuration adéquate de nginx.conf pour Angular, ainsi qu’à l’ajustement des CORS et des paramètres de lancement de notre APi .NET, il est possible de créer simplement un écosystème où les deux applications fonctionnent parfaitement bien de manière isolée. Le résultat ? Une récupération fluide et aisée des données, illustrant l’interconnexion dans un environnement conteneurisé.
L’utilisation du connecteur NTi joue ici un rôle essentiel dans notre API .NET, en facilitant la connexion à DB2 for i. Il prouve ainsi qu’il est possible de faire tourner des applications .NET CORE nativement, interagissant avec des données sur IBM i, tout en restant dans une environnement Dockerisé. La facilité de déploiement d’une API .NET et d’une application cliente, combinée à la capacité de notre data provider NTi à opérer nativement dans .NET souligne non seulement la simplicité de gestion de telles applications, mais aussi leur potentiel de scalabilité. Ce projet n’est qu’un exemple des nombreuses façons dont nous pouvons repenser l’utilisation des technologies aujourd’hui pour créer, innover et optimiser les processus de développements et de déploiements.
J’espère que ce guide vous aura fourni les connaissances et l’inspiration nécessaire pour explorer de nouvelles méthodes et outils dans vos propres projets. Docker est là pour simplifier, accélérer et rendre plus fiable le déploiement d'applications, permettant de se concentrer sur ce qui compte vraiment: répondre efficacement aux besoins spécifiques de chaque projet client.
Quentin Destrade